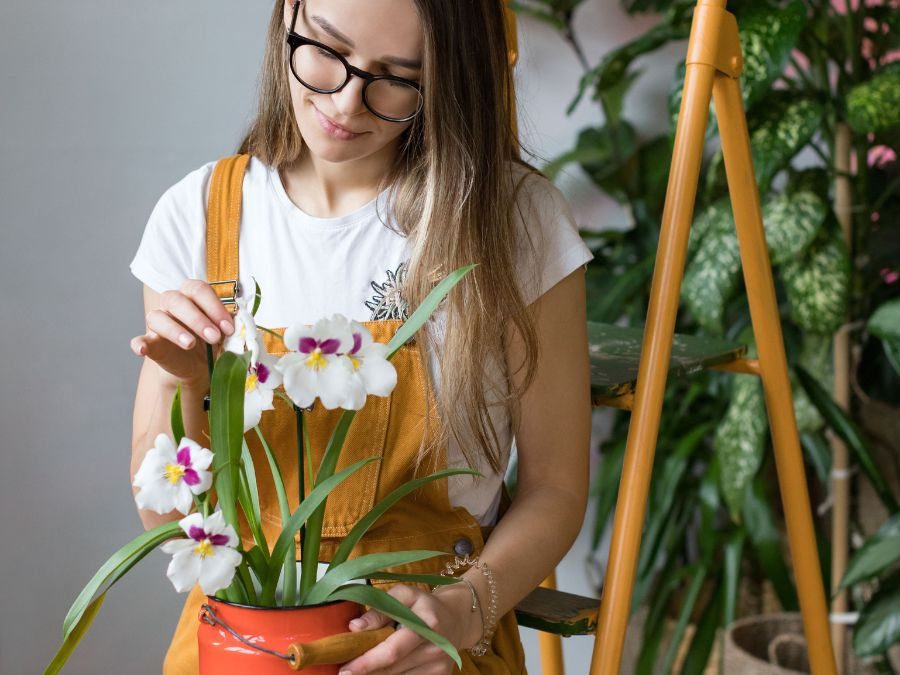
We’re always on the lookout for the best tips to fertilize orchids and have stunning blooms. After all, we hope that the orchid you bought in full bloom will once again be filled with the most beautiful flowers. Orchids are incredible plants that enchant us with their beauty and exuberance. To make them bloom and grow healthy, fertilization is essential. But it’s not enough to just toss anything into the pot; you need to know what to do and how to do it. In this article, we’ll show you how to perform balanced and highly efficient fertilization for your orchids.
Tip 1: Know Your Orchid’s Needs
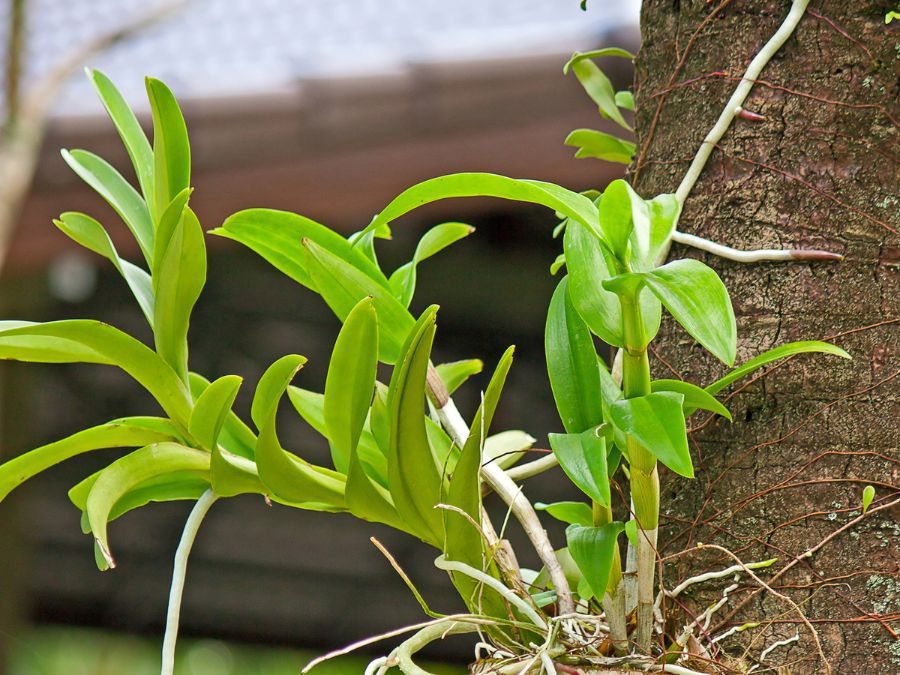
Before thinking about fertilization, you need to understand your orchid’s needs. Each species has specific requirements, so it’s essential to research and discover the ideal type of fertilization. Determine whether the orchid you have at home prefers more acidic or alkaline substrates, whether it’s epiphytic, lithophytic, or terrestrial, and what nutrients it needs to grow strong and healthy. By studying your orchid species, you’ll not only learn about its nutritional needs but also about all other requirements and characteristics that aid in cultivation.
Tip 2: Choose the Right Fertilizer
Now that you know your orchid’s needs, it’s time to choose the right fertilizer. There are different types of fertilizers available on the market, and some are specifically designed for orchids. Be sure to select a fertilizer that contains all the necessary nutrients for your orchid and follow the manufacturer’s instructions for the correct dosage. Always look for super-premium quality fertilizers because your orchids deserve to be pampered with the best fertilizers on the market, which not only nourish the plants but also have low levels of impurities and root-toxic salts.
Tip 3: Use Organic Fertilizers
Organic fertilizers are essential for orchids because they are milder and release nutrients slowly and steadily, promoting healthy and balanced growth. Additionally, organic fertilizers are less likely to cause root burns in orchids. Remember that orchids live in symbiosis with specific fungi that develop in their roots, which means that healthy fungus equals a healthy orchid. The fertilizers you choose should be compatible with these fungi. For instance, bokashi is an excellent alternative for orchid fertilization.
Tip 4: Use Slow-Release Fertilizers
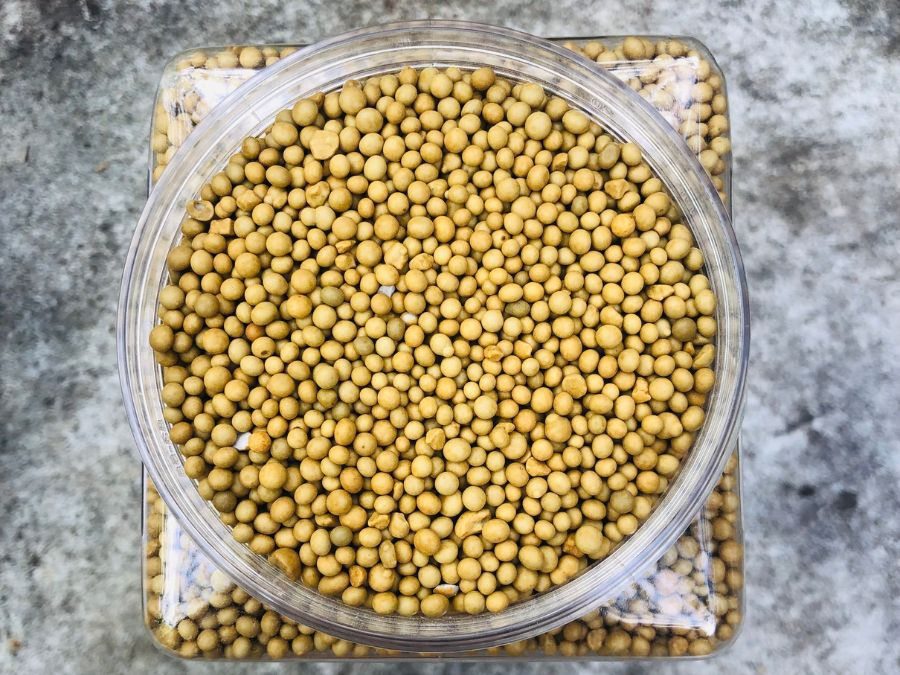
Slow-release fertilizers are an excellent option for orchids because they release nutrients gradually, avoiding excesses that can harm the plant. These fertilizers are made with granules that slowly release nutrients, providing nourishment for several months. When using this type of fertilizer, it’s important to also use fertilizer holders that keep your fertilizers organized. Fertilizer holders prevent the granules from spreading throughout the substrate and assist in removing them when the release period is over. This way, you can dispose of the used fertilizer in the garden and replace it with a new one to feed your orchids.
Tip 5: Avoid Over-Fertilization
Over-fertilization is a common problem in plants in general, and orchids are no exception. When you fertilize your orchid excessively, you can cause root burns and hinder water and nutrient absorption. This can lead to various problems, such as yellowing leaves, flower drop, and even plant death. Therefore, it’s essential to follow the manufacturer’s instructions and avoid over-fertilization. If your orchid looks unhealthy or isn’t flowering, investigate other causes before adding more fertilizers. Often, a lack of light or water occurs more frequently than a lack of nutrients.
Tip 6: Create a Fertilization Schedule
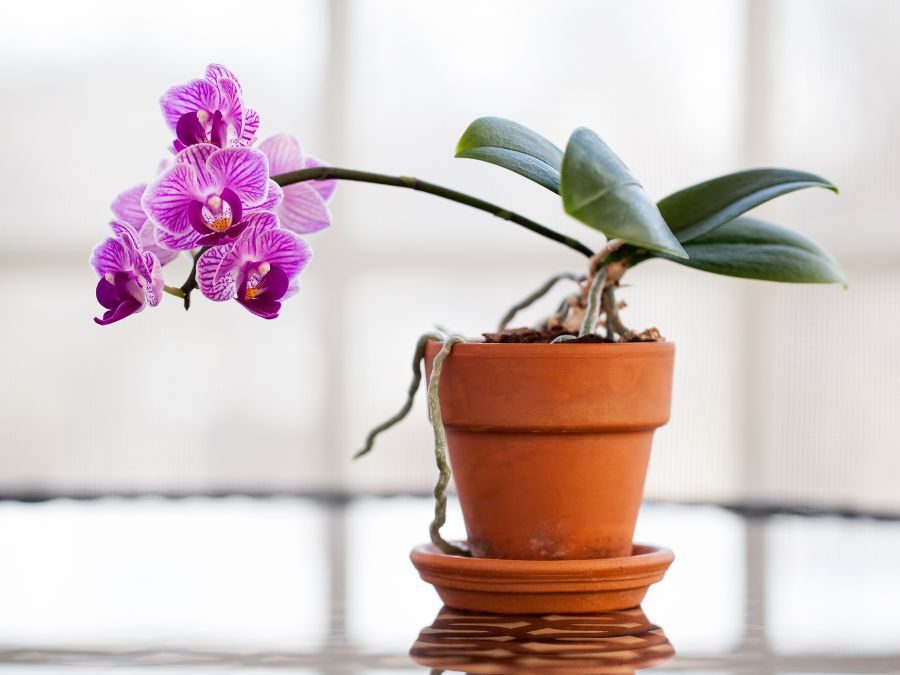
Fertilizing orchids should be done frequently but without excess. A gentle and consistent supply is better than applying too much product at once. Fertilize every two weeks or monthly to keep the plant healthy and promote flowering. Always assess the needs of the orchid species you’re dealing with, including the frequency of fertilization. Remember that fertilization should be reduced and adjusted during the dormant period, which typically occurs in winter. Nutrient requirements are different during the winter when the plant needs to become hardier and rest instead of growing and blooming. Adopt or develop a good fertilization schedule that considers your plant’s needs and is easy to follow.
Tip 7: Monitor Plant Growth
Lastly, it’s essential to monitor the plant’s growth and make adjustments to fertilization as needed. Observe the leaves and flowers of the orchid and check if it’s receiving the necessary nutrients. If you notice any changes in the plant’s appearance, such as yellow or wilted leaves, it might be a sign of nutrient excess or deficiency. In such cases, adjust the fertilization accordingly.
Orchid fertilization requires a bit more knowledge and care than simply fertilizing a garden, but it’s essential for maintaining healthy and vibrant plants. Remember to understand your orchid’s needs, choose the right fertilizer, use organic and slow-release fertilizers, avoid over-fertilization, fertilize regularly, and monitor plant growth. With these tips, your orchids will undoubtedly bloom even more beautifully and healthily!

